Imagine automating your business tasks without writing a single line of code. In 2026, the n8n tutorial 2026 has become the fastest path to making this a reality. For years, automation seemed like something only programmers could do. Today, tools like n8n democratize this capability: anyone can create powerful workflows in minutes.
This tutorial will guide you through 30 minutes to build your first AI workflow. We’ll start with the simplest possible example (receive an email and send a Slack notification), then scale to a more sophisticated use case with WhatsApp integrations. You don’t need prior experience. You don’t need a credit card. You only need curiosity and willingness to learn.
By the end of this article, you’ll understand how no-code workflows function, you’ll avoid the most common mistakes beginners make, and you’ll have two functional automations ready for your business. Let’s begin.
| Aspect | n8n Cloud | Make.com | ActiveCampaign |
|---|---|---|---|
| Initial Cost | Free (Community Plan) | Free (1,000 operations/month) | From $9/month |
| Learning Curve | Very beginner-friendly | Very beginner-friendly | Email-focused |
| Integrations | 350+ | 1000+ | 500+ |
| Best For | Beginners and AI | High volume | Email marketing |
Prerequisites: What You Need Before You Start
Before diving into the n8n basic tutorial for business beginners, make sure you have these elements ready. It’s not much, but it’s fundamental for a frictionless experience.
Modern Browser: Chrome, Firefox, Edge, or Safari all work perfectly. N8n runs completely in your browser, so you don’t need to install anything on your computer.
15 Free Minutes: This is the actual time to set up your first automation. The other 15 minutes in the title will be for the second one and adjusting configurations.
Why N8n Is Different in 2026

Five years ago, when no-code automation was mentioned, most people thought of Zapier or Make. Both are excellent tools, but n8n changed the game. Why should you choose n8n for your first workflow?
It’s Open Source: This means you can install it on your own server if you wish. You’re not completely tied to a third-party’s cloud. Privacy and control are yours.
Native AI Integration: N8n in 2026 has direct support for OpenAI, Anthropic, Hugging Face, and other models. You can build workflows that don’t just automate—they think. This is crucial for modern businesses.
The Visual Editor Is Intuitive: Unlike some platforms, n8n doesn’t overwhelm you with options. The flow is linear and clear: input → processing → output.
The International Community Is Growing: The n8n tutorial 2026 now has multiple resources, Discord communities, and active forums. You won’t be alone.
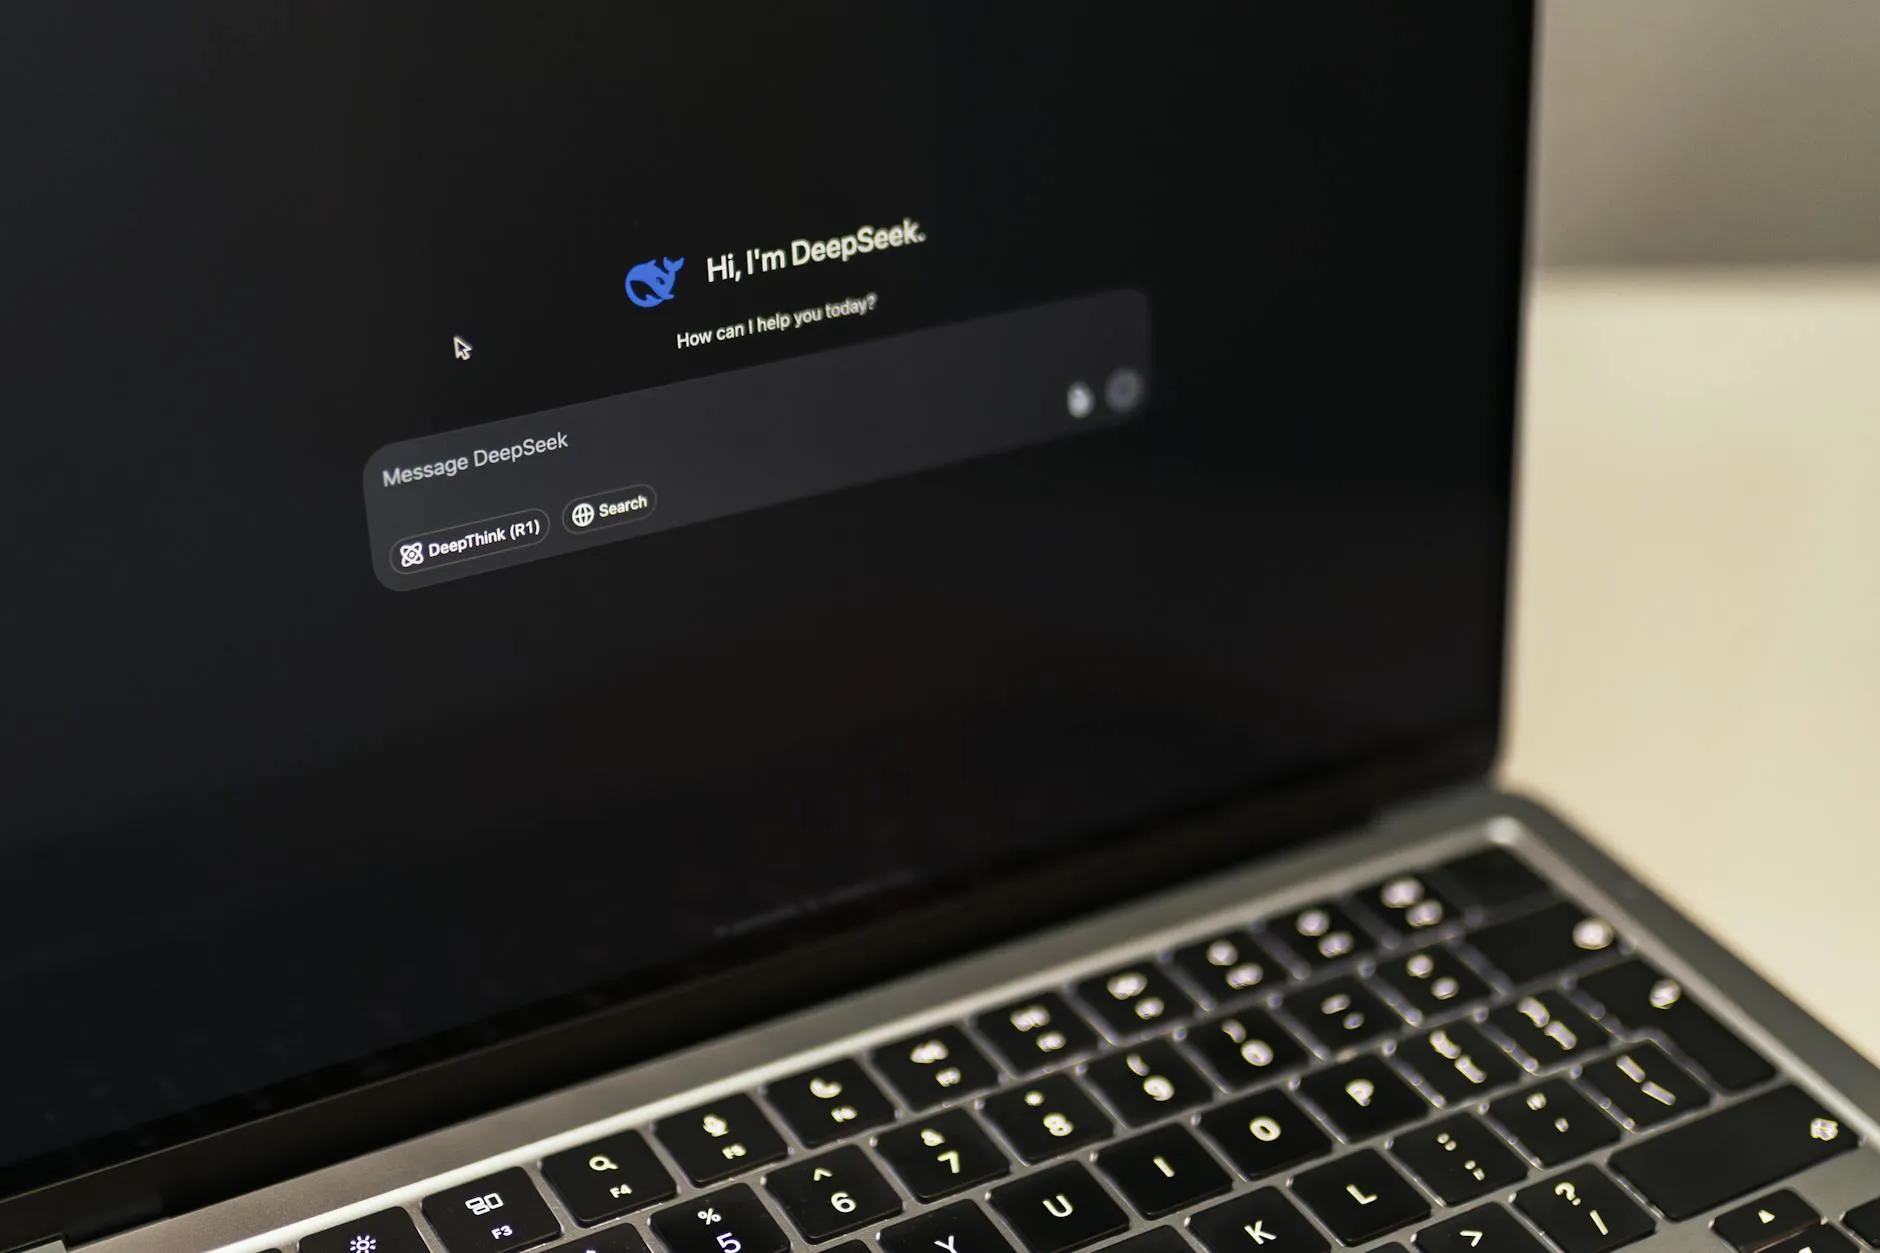
Step 1: Create Your Account and Access the Editor
Get the best AI insights weekly
Free, no spam, unsubscribe anytime
No spam. Unsubscribe anytime.
This is the most straightforward step, but crucial to begin your automation journey.
Go to n8n.io: Open your browser and type n8n.io. You’ll see the homepage with a “Get Started” or “Sign Up” button. Click it.
Try ChatGPT — one of the most powerful AI tools on the market
From $20/month
Complete the Registration Form: Provide your email address and a strong password. N8n will ask you to confirm your email. Check your inbox (and spam folder, just in case) and click the confirmation link.
Choose Your Workspace: Once inside, n8n will ask what kind of automation interests you. Select “Create a workflow from scratch” or “Blank Workflow”. Ignore templates for now; we want to understand the fundamental process.
Expected Result: You’ll see n8n’s main interface with a blank canvas in the center, a sidebar panel with available nodes, and a top panel with execution and save options.
Step 2: Build Your First Workflow (Email → Slack)
Now is where the magic happens. We’ll create the simplest yet fully functional example: receive an email and send a Slack notification. This workflow demonstrates the essence of creating a workflow in n8n without code.
Add the Input Node (Email Trigger)
On the blank canvas, you’ll see a node that says “Start”. This is your entry point. Click the “+” symbol below to add a new node.
A sidebar panel will open with all available integrations. Type “Gmail” in the search box. Select “Gmail” from the list. Then, choose “Watch Email” (Monitor for incoming email).
Connect Your Gmail: N8n will ask you to authenticate with Google. Click “Connect” and follow the OAuth flow. Google will ask permission for n8n to access your emails. Accept it. This is secure; n8n doesn’t read your emails, it only monitors your inbox based on rules you define.
Configure the Trigger: Once authenticated, you’ll have options like:
- Label name: leave as “INBOX” for this example
- Mark as read: choose “No” so emails remain unread until you manually process them
- Polling interval: set to 1 minute (it will check your email every minute)
Expected Result: The Gmail node should show a green circle indicating it’s connected. In the top bar, you’ll see a “Test workflow” button—DON’T click it yet. First, we need to add more nodes.
Add the Processing Node (Email Details)
Now we want to extract information from the email (sender, subject, body). Click the “+” again and search for “Email”. Add an “Email Properties” or “Item Lists” node. Actually, for this case, the first node already gives us the data, so we can skip this step and move straight to Slack.
Simplifying: N8n automatically passes the email data to the next node. You don’t need an intermediate node for simple tasks.
Add the Output Node (Slack Notification)
Click the “+” again. Search for “Slack” and select “Slack API”. Choose “Send message to a channel” (Send a message to a specific channel).
Connect Your Slack: Like with Gmail, n8n will ask you to connect with Slack. Click “Connect” and authorize. This is secure; Slack and n8n have official integration.
Configure the Message: Once connected, you’ll see fields like:
- Channel: Select the channel where you want to receive notifications. For example, #automations
- Message: Here you’ll write the content. In n8n, you can use variables from the previous node. Type something like: “New email from {{ data.from }} with subject: {{ data.subject }}”
Variables with {{ }} are magical. N8n automatically replaces “data.from” with the actual sender of the email.
Expected Result: Now you have three nodes connected: Gmail → (implicitly) → Slack. The flow should look like a vertical chain.
Step 3: Test and Activate Your First Workflow

Before your workflow runs automatically, you need to test it. This is crucial to avoid unpleasant surprises.
Execute a Test
In the top right corner, you’ll see an “Execute Workflow” or “Run” button. Click it. N8n will attempt to run your workflow once manually.
What Happens? N8n will look for an email in your inbox. If it finds one, it will use it as test data. If it doesn’t find any, it will show an error. Don’t worry; this is normal.
Quick Fix: If n8n doesn’t find emails, send yourself a test email from another address. Then, try executing the workflow again.
Verify the Result: Once the workflow executes successfully (all nodes showing green), check your Slack. You should see a new message in the channel you specified.
Save Your Workflow
While not strictly necessary (n8n saves automatically), it’s good practice. Click the disk icon in the top left corner. Give your workflow a name, like “Email to Slack Notifier”. Add a brief description.
Expected Result: You’ll see a confirmation that your workflow was saved. It’s now permanently stored in your n8n Cloud account.
Enable for Automatic Execution
This is where your workflow transforms from an experiment into a productivity machine. In the top right corner, you’ll see a toggle that says “Active” or an “Enable” button. Click it.
What Happens Now? Your workflow will automatically run every minute (based on the polling interval you set in Gmail). Every time an email arrives in your inbox, you’ll get a Slack notification.
Monitoring: N8n displays an execution history in the bottom panel. You can see what executed successfully and what failed. This is useful for diagnosing issues.
Step 4: Scale to a More Complex Workflow (WhatsApp + AI)
Now that you understand the basics, it’s time to create something more sophisticated. We’ll build a workflow that: receives WhatsApp messages, processes them with AI, and sends an automated response. This is a real-world use case used by thousands of businesses.
This example demonstrates how to create a workflow in n8n without code that integrates n8n WhatsApp integrations with intelligent processing.
Preparation: Connect Your WhatsApp Business Number
For this workflow, you’ll need WhatsApp Business API. If you don’t have it, you can use a WhatsApp simulator for testing (n8n provides options).
Assume you already have access. In n8n, create a new blank workflow. The input node will be “WhatsApp” with the “Webhook” option or “Trigger on incoming message”.
Configure the Webhook: N8n will give you a unique URL. This URL is the entry point for WhatsApp messages. Copy it. You’ll use it to configure your WhatsApp Business number.
Add AI Processing
This is where n8n shines in 2026. Click “+” to add a new node. Search for “OpenAI” or “ChatGPT”.
Configure OpenAI: You’ll need an API key from OpenAI. Get one at platform.openai.com. It’s free to sign up; you pay only for usage (cents on the dollar).
Once you connect your API key in n8n, configure the prompt. Example:
“You are a friendly customer service assistant. The customer wrote: {{ message_content }}. Respond briefly (maximum 2 lines) in a professional manner.”
Here, {{ message_content }} is automatically replaced with the text the user sent via WhatsApp.
Respond to WhatsApp
Finally, add another WhatsApp node with the “Send message” option. Configure it to send the AI response to the user’s number.
Complete Flow: WhatsApp message → AI processes → Automatic response sent.
Expected Result: When someone messages you on WhatsApp, they’ll receive an AI-generated response in seconds. Your business appears active 24/7, even when you’re sleeping.
Essential Integrations for Your Business
N8n in 2026 has 350+ integrations. You don’t need to know them all, but here are the most powerful ones for small to medium-sized businesses:
Google Sheets (Export Data)
Want each workflow execution to save data to a spreadsheet? Perfect. Add a “Google Sheets” node with the option “Add or update a row”. This answers the question: How to export data from an n8n workflow to Excel? (Though it’s Sheets, the principle is identical).
Example: each processed email is automatically logged in a spreadsheet with columns: Sender | Subject | Date | Status.
Stripe (For Payments)
If your business processes payments, Stripe + n8n is a powerful combination. You can create workflows that: when a payment is received → send confirmation email → automatically create an invoice.
Calendly or Google Calendar
Consulting services? Integrate Calendly with n8n. When an appointment is booked → send welcome email → add to your calendar → create follow-up task. All automatic.
Zapier or Make as a Fallback
While this tutorial focuses on n8n, it’s good to know that if you need more monthly operations, Make.com (formerly Integromat) offers 1,000 free operations versus n8n’s 500. Both tools can coexist; they’re not rivals.
Common Beginner Mistakes and How to Avoid Them

Based on thousands of new users, these are the mistakes that most prevent success. Avoid them:
Mistake #1: Not Testing Before Enabling
Many people create complex workflows and enable them without checking. Then, the automation breaks because a node isn’t correctly configured. Always do a manual test first.
Mistake #2: Incorrect Variable Names
When using {{ variable }}, the name must be exact. If you write {{ data.name }} but the actual field is {{ data.full_name }}, the workflow will fail silently. Verify each variable name in the previous node before using it.
Mistake #3: Forgetting to Enable the Workflow
You create something beautiful, test it and it works… but then you forget to click “Enable”. The workflow runs once during the test, never automatically. After testing, always enable it.
Mistake #4: Not Monitoring Failed Executions
N8n has an “Executions” panel where you see each execution: successful or failed. Many beginners ignore this. If your workflow isn’t working as expected, check here. Error messages are very descriptive.
Mistake #5: Using More Complex Nodes Than Necessary
Beginner: “I need to process this email, so I’ll use the ‘Function’ node in JavaScript”. This is unnecessary. N8n has visual nodes for 95% of cases. Keep it simple; add logic only if truly necessary.
Questions About Costs and Limitations
When I mention that n8n has a free plan, the question always comes up: how free is it really?
Is Creating a Workflow in N8n Free?
Completely. N8n Cloud’s Community plan is free. You can create unlimited workflows. The only limitation is the number of automatic executions: 500 per month. If you need more, you pay starting at $20/month.
Comparison: Make.com offers 1,000 free operations per month, but n8n is more intuitive for beginners. Choose based on your expected volume.
What Integrations Does N8n Have Available?
When people ask this, they mean two things:
First: Are there integrations for specific regional apps? Yes: it includes services relevant globally and for various regions. But don’t expect the n8n interface itself to be fully localized in all languages. It’s in English, but the process is visual and intuitive.
Second: Can I use n8n from anywhere without problems? Absolutely. There are no geographic restrictions. N8n’s servers are globally distributed.
Case Study: From Simple Workflow to Scalable Business
Martin is a tax consultant. In January 2026, he created a simple n8n workflow: when a client sends an email with documentation, it automatically saves to Google Drive organized by folders and adds to a Google Sheet tracker.
Result: he saved 5 hours per week on manual organization. Three months later, he expanded the workflow to also: send confirmation email to client, generate a unique case number, and create a task in his CRM.
Today, Martin handles double the clients without increasing work hours. The cost? $30/month in n8n. The return: thousands of dollars in recovered productivity.
This is the power of understanding no-code workflows. You start simple and scale as needed.
Additional Resources for Continued Learning
You’ve mastered the n8n tutorial 2026 basics. Here’s how to deepen your knowledge:
Official Documentation: n8n.io/docs is your best resource. Every node has detailed documentation with examples.
Community: Join the official n8n Discord. Thousands of users share workflows, ask questions, and collaborate.
Templates: In n8n Cloud, you have access to pre-defined templates. They’re excellent for learning and adapting.
Advanced Tutorials: Consider exploring Tutorial: Create a WhatsApp Chatbot with AI and n8n Without Programming once you master the basics.
If you need to automate invoicing or email marketing, there are also specific resources: Automate Invoicing for Businesses: Tutorial Make.com 2026 vs n8n and How to Automate Your Email Marketing Step by Step with Make.com (Tutorial 2026).
Conclusion: Your First Step into AI Automation
Completing this n8n tutorial 2026 means you’re no longer someone who just thinks about automation. You’re someone who does it. In 30 minutes, you built two real workflows that save time for your business.
The most important thing you learned isn’t a specific step, but the mindset: repetitive tasks can be automated visually, without coding. Once you understand this, the possibilities are endless.
Your next step is simple: identify a task in your business that repeats at least three times a week. That’s your perfect candidate for a workflow. Start simple; grow from there.
Ready to Scale? Explore N8n Tutorial 2026: Step-by-Step Guide to Create Your First AI Workflow Without Code for more complex use cases, or check Tutorial: Automate Invoicing and Payments with Make in 10 Minutes (Without Programming) if your business specifically needs invoice automation.
The future of work isn’t harder; it’s smarter. And you’ve just taken your first step toward it.
Frequently Asked Questions (FAQ)
What’s the Simplest Workflow to Start With in N8n?
The simplest is: Email → Notification. Set up a trigger to monitor your email and send a message to Slack when one arrives. Takes 10 minutes and introduces all fundamental concepts: trigger, authentication, node connection, and variables. It’s the “Hello World” of automation.
How Long Does It Take to Create a Basic Workflow in N8n Without Code?
For someone completely new: 15-20 minutes if you have access to necessary accounts (Gmail, Slack, etc.). If you also need to create those accounts, add 10 more minutes. The 30 minutes in this tutorial’s title is realistic. Most complexity comes from authentication, not workflow design.
How Do I Connect WhatsApp with N8n to Automate Messages?
You need WhatsApp Business API. Once you have it, search for the “WhatsApp” node in n8n and select “Webhook” as the trigger. N8n will give you a URL; configure it in your WhatsApp Business account to receive messages. To respond, use the “WhatsApp” node with “Send message” option. The flow is: message comes in → processes → automatic response goes out. We covered a complete example in Step 4 of this tutorial.
What’s Easier for Beginners: N8n or Make?
Both are excellent, but n8n is slightly more intuitive for beginners due to its cleaner interface and clear documentation. Make (formerly Integromat) has more integrations (1000+ vs 350+), so if you need to connect very specific tools, Make wins. To start: n8n. To scale to extreme complexity: Make. For most businesses, both work.
Can I Automate Invoicing with N8n Without Knowing How to Program?
Completely. Nodes like “Invoice Ninja”, “Wave”, or even Google Sheets can automate invoicing. Example: when a payment arrives in Stripe → create invoice automatically → send via email to client → record in accounting. All visual, no code. If you want a step-by-step tutorial specifically about this, see Tutorial: Automate Invoicing and Payments with Make in 10 Minutes (Without Programming), which includes n8n alternatives.
How Do I Export Data from an N8n Workflow to Excel?
Technically, you export to Google Sheets (Excel online), not a local .xlsx file. Add a “Google Sheets” node with “Add or update a row” in your workflow. Each execution will save data to your sheet. If you need a downloadable .xlsx, download it manually from Sheets later. N8n+ (paid) allows automating direct downloads, but the Sheets method is free and equally functional.
What Integrations Does N8n Have Available?
N8n has 350+ integrations with any relevant app for modern businesses: all major platforms like Google, Microsoft, Slack, and thousands of specialized tools. The n8n interface itself is in English, but it works identically for users worldwide. There are no geographic restrictions or regional limitations.
Is Creating a Workflow in N8n Free?
Yes, completely free. N8n Cloud’s Community plan allows unlimited workflow creation. Your limitation is 500 automatic executions per month (enough for almost any small-to-medium business). For more, the paid plan starts at $20/month. Comparatively, Make offers 1,000 free operations, but n8n is more beginner-friendly.
Looking for more tools? Check our selection of recommended AI tools for 2026 →
Robotiza — Our content is prepared from official sources, documentation, and verified user opinions. We may receive commissions through affiliate links.
Explore the AI Media network:
For a different perspective, see the team at La Guía de la IA.